Sharp MX-1800N (serv.man29) Service Manual ▷ View online
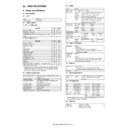
MX-1800N PHOTOCONDUCTOR SECTION i – 5
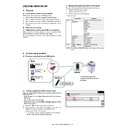
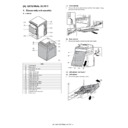
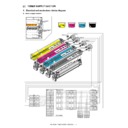
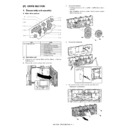
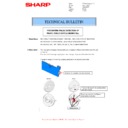
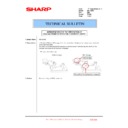
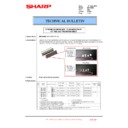
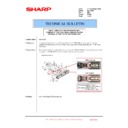
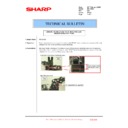
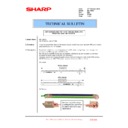
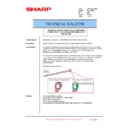
e. Cleaner blade
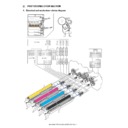
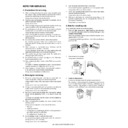
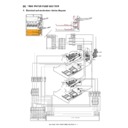
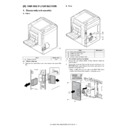
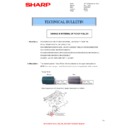
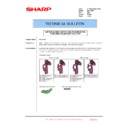
1) Remove each drum unit from the machine.
2) Remove the OPC drum.
3) Remove the MC charger unit.
4) Remove the side seal F/R and the toner reception seal.
5) Remove the screws, and remove the cleaner blade.
6) Remove the toner mixing sheet from the cleaner blade.
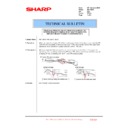
1) Remove each drum unit from the machine.
2) Remove the OPC drum.
3) Remove the MC charger unit.
4) Remove the side seal F/R and the toner reception seal.
5) Remove the screws, and remove the cleaner blade.
6) Remove the toner mixing sheet from the cleaner blade.
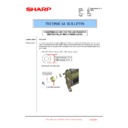
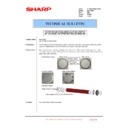
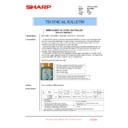
* Tighten the screws according to the marks 1, 2, and 3.
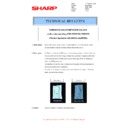
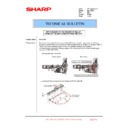
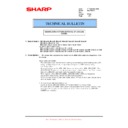
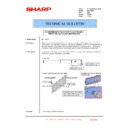
(2) Others
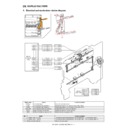
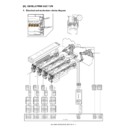
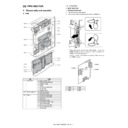
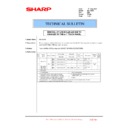
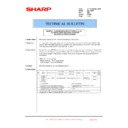
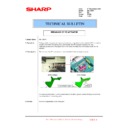
a. Waste toner drive motor
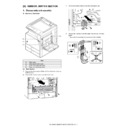
1) Remove the frame cover. (Refer to Frame Cover in External
1) Remove the frame cover. (Refer to Frame Cover in External
Outfit Section.)
2) Remove the connector and the screws, then remove the waste
toner drive unit.
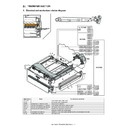
Remove the screw, and remove the waste toner drive motor
from the waste toner drive unit.
Remove the screw, and remove the waste toner drive motor
from the waste toner drive unit.
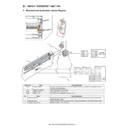
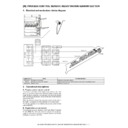
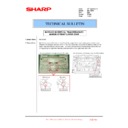
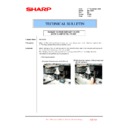
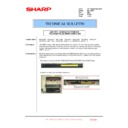
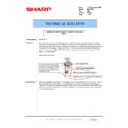
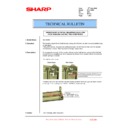
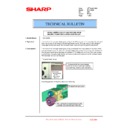
b. Waste toner full detection switch
1)
1)
Remove the frame cover. (Refer to Frame Cover in External
Outfit Section.)
Outfit Section.)
2)
Remove the connector and the screws, then remove the waste
toner drive unit.
toner drive unit.
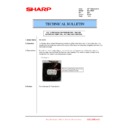
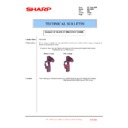
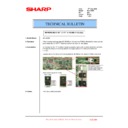
3)
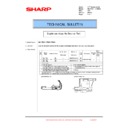
Remove the screw and the spring, and remove the waste toner
box empty lever.
Disengage the connector and the pawl, and remove the waste
toner full detection switch.
box empty lever.
Disengage the connector and the pawl, and remove the waste
toner full detection switch.
2
3
1
Display

