Sharp MX-1800N (serv.man13) Service Manual ▷ View online
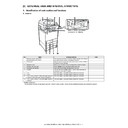
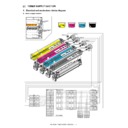
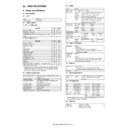
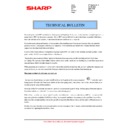
MX-1800N EXTERNAL VIEW AND INTERNAL STRUCTURE 5 – 1
MX-1800N
Service Manual
[5] EXTERNAL VIEW AND INTERNAL STRUCTURE
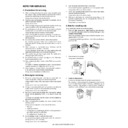
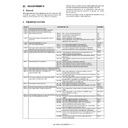
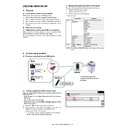
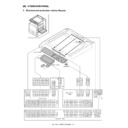
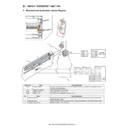
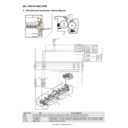
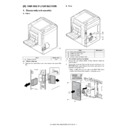
1. Identification of each section and functions
A. Exterior
*: Peripheral Devices:
The peripheral devices are generally optional, however, some models include certain peripheral devices as standard equipment.
No.
Name
Function/Operation
Note
1
This automatically feeds and scans multiple originals. Both sides of
two-sided originals can be automatically scanned.
two-sided originals can be automatically scanned.
2
Front cover
Open this cover to switch the main power switch to "On" or "Off" or
to replace a toner cartridge.
to replace a toner cartridge.
3
Operation panel
This is used to select functions and enter the number of copies.
4
Exit tray unit (right tray)*
When installed, output can be delivered to this tray.
5
Output tray (centre tray)
Copy jobs and print jobs are delivered to this tray.
6
Finisher*
This can be used to staple output. A punch module can also be
installed to punch holes in output.
installed to punch holes in output.
7
Tray 1
This holds paper. Up to 500 sheets of paper can be loaded.
8
Tray 2
This holds paper. Up to 500 sheets of paper can be loaded.
9
Tray 3 (when a stand/1 x 500 sheet paper drawer or
a stand/2 x 500 sheet paper drawer is installed)*
a stand/2 x 500 sheet paper drawer is installed)*
This holds paper. Up to 500 sheets of paper can be loaded.
10
Tray 4 (when a stand/2 x 500 sheet paper drawer is
installed)*
installed)*
This holds paper. Up to 500 sheets of paper can be loaded.
1
2
5
4
3
6
When a finisher (peripheral
devices) is not installed.
devices) is not installed.
8
7
9
10
MX-1800N EXTERNAL VIEW AND INTERNAL STRUCTURE 5 – 2
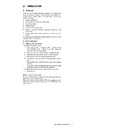
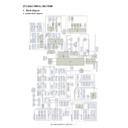
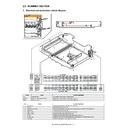
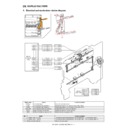
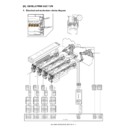
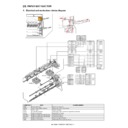
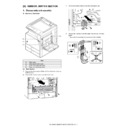
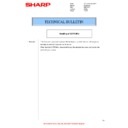
B. Interior
No.
Name
Function/Operation
Note
1
Toner cartridges
When the toner in a cartridge runs out, the cartridge must be
replaced with a new cartridge of the same colour.
replaced with a new cartridge of the same colour.
2
Fusing area
Heat is applied here to fuse the transferred image onto the paper.
Caution: The fusing unit is hot.
Take care not to burn yourself
when removing a paper misfeed.
Take care not to burn yourself
when removing a paper misfeed.
3
Transfer belt
During full colour copying, the toner images of each of the four
colours on each of the photoconductive drums are combined
together on the transfer belt.
During black and white copying, only the black toner image is
transferred onto the transfer belt.
colours on each of the photoconductive drums are combined
together on the transfer belt.
During black and white copying, only the black toner image is
transferred onto the transfer belt.
Do not touch or damage the
transfer belt.
This may cause a defective
image.
transfer belt.
This may cause a defective
image.
4
Right side cover
Open this cover to operate the fusing area pressure adjustment
lever and to remove a misfeed.
lever and to remove a misfeed.
5
Paper reversing section cover
This is used when 2-sided copying and printing is performed.
Open this cover to remove a paper misfeed.
Open this cover to remove a paper misfeed.
6
Bypass tray
Use this tray to feed paper manually.
When loading paper larger than A4R or 8-1/2" x 11"R, be sure to
pull out the bypass tray extension.
When loading paper larger than A4R or 8-1/2" x 11"R, be sure to
pull out the bypass tray extension.
7
Main power switch
This is used to power on the machine.
When using the fax or Internet fax functions, keep this switch in
the "On" position.
When using the fax or Internet fax functions, keep this switch in
the "On" position.
8
Waste toner box
This collects excess toner that remains after copying and printing.
Your service technician will
collect the waste toner box.
collect the waste toner box.
9
Waste toner box release button
Press this button when you need to release the waste toner box
lock to replace the waste toner box or clean the laser unit.
lock to replace the waste toner box or clean the laser unit.
10
Handle
Pull this out and grasp it when moving the machine.
11
Right cover of stand/1 x 500 sheet paper drawer
Right cover of stand/2 x 500 sheet paper drawer
(when a stand/1 x 500 sheet paper drawer or a
stand/2 x 500 sheet paper drawer is installed)
Right cover of stand/2 x 500 sheet paper drawer
(when a stand/1 x 500 sheet paper drawer or a
stand/2 x 500 sheet paper drawer is installed)
Open this to remove a paper misfeed in tray 3 or tray 4.
12
Paper tray right side cover
Open this to remove a paper misfeed in tray 1 or tray 2.
13
Right side cover release lever
To remove a paper jam, pull and hold this knob up to open the
right side cover.
right side cover.
1
2
3
6
5
4
9
8
7
12
13
11
10
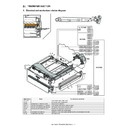
MX-1800N EXTERNAL VIEW AND INTERNAL STRUCTURE 5 – 3
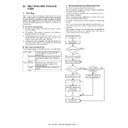
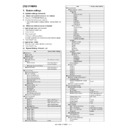
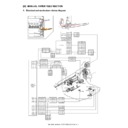
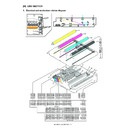
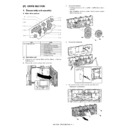
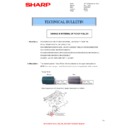
C. Automatic document feeder and document glass
No.
Name
Function/Operation
Note
1
Paper feed roller
This roller rotates to automatically feed the original.
2
Document feeding area cover
Open this cover to remove an original misfeed or clean the paper
feed roller.
feed roller.
3
Original guides
These help ensure that the original is scanned correctly.
Adjust the guides to the width of the original.
Adjust the guides to the width of the original.
4
Document feeder tray
Place originals in this tray. 1-sided originals must be placed face up.
5
Original exit tray
Originals are delivered to this tray after scanning.
6
Scanning area
Originals placed in the document feeder tray are scanned here.
7
Original size detector
This detects the size of an original placed on the document glass.
8
Reversing tray
During scanning of a 2-sided original, the original is temporarily
output to this tray in order to be turned over for scanning of the
reverse side.
output to this tray in order to be turned over for scanning of the
reverse side.
9
Document glass
Use this to scan a book or other thick original that cannot be fed
through the automatic document feeder.
through the automatic document feeder.
2
8
9
3
4
5
6
7
1
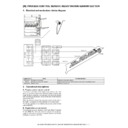
MX-1800N EXTERNAL VIEW AND INTERNAL STRUCTURE 5 – 4
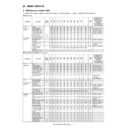
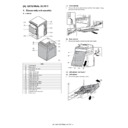
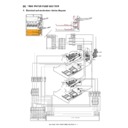
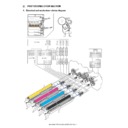
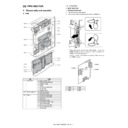
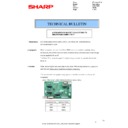
D. Connectors
No.
Name
Function/Operation
Note
1
USB connector (A type)
Supports USB 2.0 (Full Speed).
This is used to connect a USB hub or USB memory device to the machine.
For the USB cable, use a shielded type cable.
This is used to connect a USB hub or USB memory device to the machine.
For the USB cable, use a shielded type cable.
2
USB connector (B type)
Supports USB 2.0 (Hi-Speed).
A computer can be connected to this connector to use the machine as a printer.
For the USB cable, use a shielded type cable.
A computer can be connected to this connector to use the machine as a printer.
For the USB cable, use a shielded type cable.
3
LAN connector
Connect the LAN cable to this connector when the machine is used on a network.
For the LAN cable, use a shielded type cable.
For the LAN cable, use a shielded type cable.
4
Service-only connector
Caution:
Connecting a cable to this connector may cause the machine to malfunction.
Important note for service technicians:
Connecting a cable to this connector may cause the machine to malfunction.
Important note for service technicians:
The cable connected to the service connector must be less than 3 m (118") in length.
5
Extension phone socket
When the fax function of the machine is used, an extension phone can be connected to this
socket.
socket.
6
Telephone line socket
When the fax function of the machine is used, the telephone line is connected to this socket.
When the fax expansion kit is installed
1
2
3
3
4
5
6

