Sharp XV-Z2000E (serv.man18) Service Manual ▷ View online
22
XV-Z2000
DT-400
DT-400
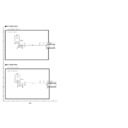
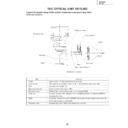
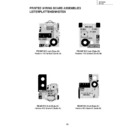
9. Fixing the earth shield
9-1. Install the four nuts.
9-2. Fit the reinforement (bracket-A) in position.
9-3. Place the earth shield (L) as specified.
9-4. Fit the reinforcement (bracket-B) in position.
9-5. Tighten up the four M3 screws.
9-6. Tighten up the four M4 screws.
9-7. Place the earth shield (S) as specified.
9-8. Melt the 17 pins of the earth shield.
9-3
Earth Shield (L)
M4 screw (4 locations)
9-7
Earth Shield (S)
9-6
Reinforcement
(Bracket-B)
(Bracket-B)
9-4
Reinforcement
(Bracket-A)
(Bracket-A)
9-2
Melt the 17 pins.
Precaution
*Melt the pins with a soldering
iron to fix the earth shield.
Finally check for loosenes.
Precaution
*Melt the pins with a soldering
iron to fix the earth shield.
Finally check for loosenes.
9-8
M3 screw (4 locations)
9-5
Nut (4 locatons)
9-1
Display

