Sharp PG-B10S (serv.man32) User Manual / Operation Manual ▷ View online
-17
Basic Operation
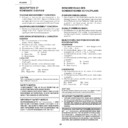
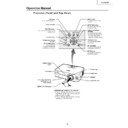
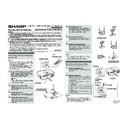
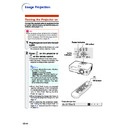
Select the “INPUT 1” using the INPUT button on the projector or the INPUT 1 button on the remote control.
•••••
When pressing
on the projector, input mode switches in order of INPUT 1
INPUT 2
INPUT 3 .
•••••
When using the remote control, press
/
/
to switch the INPUT mode.
On the remote
control
On the
projector
4.
Adjust the projected image
3
3
3
3
3 Correct trapezoidal distortion
5.
Select the INPUT mode
On-screen display (RGB)
Correcting trapezoidal distortion using the Keystone Correction.
Compresses
upper side.
upper side.
On the remote
control
On the projector
Compresses
lower side.
lower side.
Page 20
On-screen display (Component)
Page 19
1
1
1
1
1 Bring the projected image into focus and adjust the projected image size
Page 22
Page 22
2
2
2
2
2 Adjust the projected image position and the projector angle
Page 23
Page 25
Focus
•••••
Bring the projected
image into focus
using the focus ring.
image into focus
using the focus ring.
Zoom
•••••
Adjust the
projected
image size
using the
zoom knob.
projected
image size
using the
zoom knob.
Projection position
•••••
Adjust the
projected
image position
using the lens
shift lever.
projected
image position
using the lens
shift lever.
Angle
•••••
Adjust the
projector
angle using
the HEIGHT
ADJUST
button.
projector
angle using
the HEIGHT
ADJUST
button.
zoom in
zoom out

