Sharp AR-F151 (serv.man9) Service Manual ▷ View online
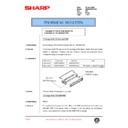
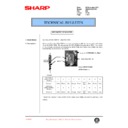
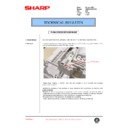
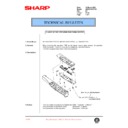
O. Remove the paper entry sensor.
1) Loosen the screw.
2) Open the paper exit PG.
3) Remove the paper entry sensor.
4) Remove the connector.
2) Open the paper exit PG.
3) Remove the paper entry sensor.
4) Remove the connector.
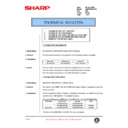
P. Remove the PS roller.
1) Remove the parts.
2) Remove the PS roller.
2) Remove the PS roller.
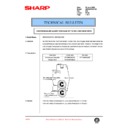
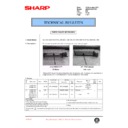
Q. Remove the paper exit roller.
1) Remove the parts.
2) Remove the paper exit roller.
2) Remove the paper exit roller.
16. Procedures after replacement of FAX
ROM (AR-F151 only)
After replacement of FAX ROM, perform the following procedures.
●
Perform the FAX software switch clear and the FAX image
memory clear.
memory clear.
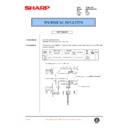
1) FAX software clear procedure
On the Fax operation panel: FUNCTION
→ 9 → ∗ → 8 → # →
ENTER
→ 0 → 2 → 1
2) FAX image memory clear procedure
On the FAX operation panel: FUNCTION
→ 9 → ∗ → 8 → # →
ENTER
→ 1 → 0 → 1
(Note)
When the ROM version is upgraded, the area used by each job
for D-RAM memory area may vary. Therefore, this procedure
must be performed after repalcement of ROM to stabilize the
operation.
Perform this procedure immediately after turning OFF/ON the
power after replacement of ROM.
for D-RAM memory area may vary. Therefore, this procedure
must be performed after repalcement of ROM to stabilize the
operation.
Perform this procedure immediately after turning OFF/ON the
power after replacement of ROM.
1
4
2
3
1
1
2
1
2
1
AR-F151
7 – 32

