Sharp MX-M850 (serv.man28) Service Manual ▷ View online
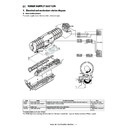
MX-M1100 FAN, FILTER SECTION R – 5
7)
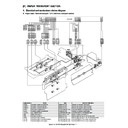
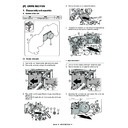
Disconnect the connector (a), and remove the screw (b).
Remove the ozone exhaust fan 1 (c) and the ozone exhaust
fan 2 (d).
Remove the ozone exhaust fan 1 (c) and the ozone exhaust
fan 2 (d).
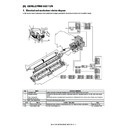
(6) Toner suction fan / Developing cooling fan 1
1)
Remove the toner hopper unit.
2)
Remove the upper cabinet right, the upper cabinet front cover
right, the upper cabinet front cover left, and the upper cabinet
front.
right, the upper cabinet front cover left, and the upper cabinet
front.
3)
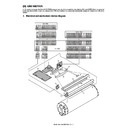
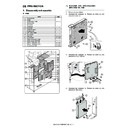
Remove the screw (a), and remove the cover (b).
4)
Disconnect the connector (a), and remove the step screw (b),
and remove the cover (c).
and remove the cover (c).
5)
Remove the screw (a), and remove the fan unit (b).
6)
Disconnect the connector (a), and remove the screw (b).
Remove the toner suction fan (c) and developing cooling fan
(d).
* When installing the fan ensure that the label is installed as
Remove the toner suction fan (c) and developing cooling fan
(d).
* When installing the fan ensure that the label is installed as
indicated (e). Proper air flow thru the fan is essential.
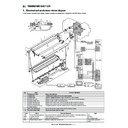
(7) Polygon cooling fan/ Process cooling fan 1
1)
Remove the upper cabinet left, the upper cabinet right, the
upper cabinet front cover right, and the upper cabinet front
cover left.
upper cabinet front cover right, and the upper cabinet front
cover left.
2)
Remove the screw (a), and remove the front cover (b).
b
b
b
c
d
a
a
a
b
b
b
a
c
a
a
a
b
a
a
b
c
d
b
e
a
a
a
a
b
MX-M1100 FAN, FILTER SECTION R – 6
3)
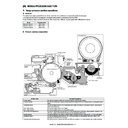
Disconnect the connector (a). Remove the screw (b), and
remove the polygon cooling fan (c).
* When installing, be careful to the direction of the fan label
remove the polygon cooling fan (c).
* When installing, be careful to the direction of the fan label
(d).
* Check to confirm that the bent section of the plate is
engaged with the notch of the fan.
4)
Disconnect the connector (a). Remove the screw (b), and
remove the process cooling fan 1 (c).
* When installing, be careful to the direction of the fan label
remove the process cooling fan 1 (c).
* When installing, be careful to the direction of the fan label
(d).
* Check to confirm that the bent section of the plate is
engaged with the notch of the fan.)
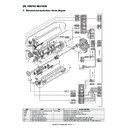
(8) Process cooling fan 2/ Process cooling fan 3/
Process cooling fan 4
1)
Remove the rear cabinet.
2)
Remove the upper cabinet left, the upper cabinet right, the
upper cabinet front cover right, and the upper cabinet front
cover left.
upper cabinet front cover right, and the upper cabinet front
cover left.
3)
Open the front cover (a), and pull out the toner tray (b) slightly.
4)
Remove the screw (a), and remove the cover (b).
5)
Remove the screw (a), and remove the front cover (b).
6)
Pull out the toner tray (a), and remove the toner bottle (b).
a
b
c
d
a
d
c
b
a
b
a
a
b
a
a
a
a
b
a
b
MX-M1100 FAN, FILTER SECTION R – 7
7)
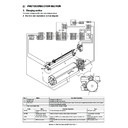
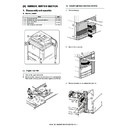
Remove the screw (a), and remove the toner tray (b).
8)
Remove the screw (a), and remove the cover (b).
9)
Disconnect the connector (a), and remove the screw (b).
Remove the duct unit (c).
Remove the duct unit (c).
10) Remove the screw (a), and remove the duct (b).
11) Disconnect the connector (a), and remove the screw (b).
Remove the process cooling fan 2 (c), the process cooling fan
3 (d), and the process cooling fan 4 (e).
* When installing, be careful to arrange the fan so that the
3 (d), and the process cooling fan 4 (e).
* When installing, be careful to arrange the fan so that the
direction of the arrow mark (f) on the duct and the arrow
mark (g) on the fan are same.
mark (g) on the fan are same.
* Check to confirm that the resin part is engaged with the
notch of the fan.
(9) Paper cooling fan
1)
Remove the left upper cabinet.
2)
Disconnect the connector (a). Remove the screw (b), and
remove the paper cooling fan (c).
* When installing, face the fan label (d) downward.
* Check to confirm that the resin part is engaged with the
remove the paper cooling fan (c).
* When installing, face the fan label (d) downward.
* Check to confirm that the resin part is engaged with the
notch of the fan.
a
a
a
a
a
a
b
a
b
a
a
b
b
c
b
a
a
a
a
a
c
d
e
a
b
b
b
g
f
a
c
d
b
Display

