Sharp MX-C301 / MX-C301W (serv.man4) Service Manual / Specification ▷ View online
17/18
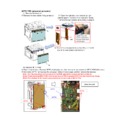
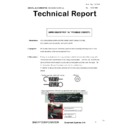
Test HTTPS Binding
1) In Internet Information Services (IIS) Manager,
select the default web site from the tree view
and click “Browse *:443 (https)” in the
Actions pane.
2) If you created a self-signed certificate, a
warning message will be displayed. Click
“Continue to this website”.
Note: You can add the certificate to your list of
Trusted Root Certification Authorities in the
local machine or the Group Policy for the
local admin.
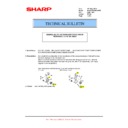
Configure SSL Settings
1) In Internet Information Services (IIS) Manager,
double-click “SSL Settings” in the main
window.
2) Check the boxes for “Require SSL” and
“Require 128-bit SSL”, select “Ignore” for
client certificates, then click “Apply” in the
Actions pane.
Note1: Windows Server 2008 /2008 R2 doesn't
have 128-bit SSL setting.
Note2: When SRDM starts after this setting,
"There is a problem with this website's
security certificate." page is displayed.
Select "Continue to this website (not
recommended)" to continue SRDM.
Note3: After this setting, SRDM can be accessed
only using https and cannot be accessed
using http(Ex: SRDM can be accessed
using "https://localhost/srdm" URL and
cannot be accessed using
"http://localhost/srdm" URL).
18/18
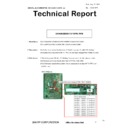
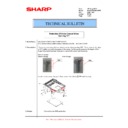
Confirm Certificate Validity
1) In Internet Information Services (IIS) Manager,
select the server from the tree view and
double-click “Server Certificates” in the main
window.
2) Select your certificate and click “View”.
3) Check the message on the General tab to
confirm whether or not your certificate is valid.
If not, you must add or copy the certificate to
your list of Trusted Root Certification
Authorities in the local machine or the Group
Policy for the local admin.
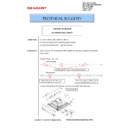
Enable SSL Settings in SRDM
1) Click “Login Information”.
2) Uncheck “Use SSL encrypted communication
(HTTPs)” and click “Apply to all displayed
MFPs” button. Then, click “Save” button.
3) Click “OK” in confirm message dialog.
Note: “Apply to all displayed MFPs” button affects
to listed devices on the screen.
Login Information

