Sharp AR-C250 (serv.man41) Service Manual / Technical Bulletin ▷ View online
GMA050702
Sharp Electronics (UK) Ltd., Technical Services Group
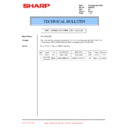
If acceptable and within specification, exit Test Simulation 50-22.
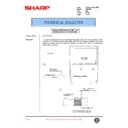
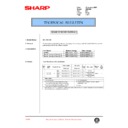
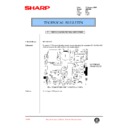
If out of specification, place the check pattern on the platen glass with the
arrow pointing left, placing 5 sheets of blank paper on top.
Press “EXECUTE”.
The pattern will be scanned, and the display will show a result of “EXACT”,
“ROUGH”, or “ERROR”. Exit the simulation by using C/A.
“Recheck and “Fine Tune” the Registration by using Test Simulation 50-20
(Main scan) and 50-21 (Sub scan).
Copy Exposure
Test Simulation 46-01 & 46-02
Prior to adjusting colour balance, adjust all Colour and B/W exposure settings
back to the default value of 50 :-
Half Tone Correction
Test Simulation 44-27
Ensure Half Tone Correction is reset back to default ONLY when either Drum(s) or
Developer are replaced.
Calibration:
Engine
Calibration
Test Simulation 46-24
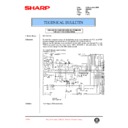
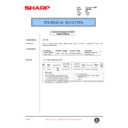
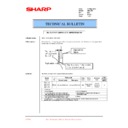
Select A3 paper and press “EXECUTE” to print a half tone test pattern (This
should be printed on recommended colour paper). Place this pattern onto the
platen glass so that the darkest density patches are toward the left or exit side of
the copier. Place 5 sheets of blank paper on top of the test pattern for greater
accuracy.
should be printed on recommended colour paper). Place this pattern onto the
platen glass so that the darkest density patches are toward the left or exit side of
the copier. Place 5 sheets of blank paper on top of the test pattern for greater
accuracy.
GMA050702
Sharp Electronics (UK) Ltd., Technical Services Group
Select “SERVICE” and then “EXECUTE”.
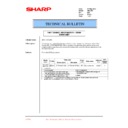
The colour test pattern will be scanned, and a reference patch image will be printed.
Examine the image and determine the following:
Examine the image and determine the following:
1) The maximum density area is not blurred or distorted.
2) Patch “A” of Y, C, M, and K is not visible.
3) Patches “B through E” are very faint. (“B” & “C” not visible is acceptable)
4) The patch density for each colour should change gradually from high
density (left) to low density (right).
GMA050702
Sharp Electronics (UK) Ltd., Technical Services Group
If the colour patch is judged to be abnormal, select “Repeat” to reprint the test
pattern.
pattern.
Once the test pattern is rescanned and the colour patch is judged to be normal,
press OK. Wait until the message “Please Quit This Mode” is displayed before
exiting the test simulation.
After completion of this command, make test copies using the Sharp Colour Test
Chart (UKOG-0283FCZZ) and confirm copy quality. If the customer is satisfied with
the quality, calibration is complete.
If the copy quality is not acceptable, perform Manual Colour Balance adjustment:-
Manual Colour Balance
Test command 46-21:
This adjustment needs to be performed if:-
a) You are unable to get a satisfactory result from the automatic adjustment.
b) To suit individual customer needs.
a) You are unable to get a satisfactory result from the automatic adjustment.
b) To suit individual customer needs.
Enter Test Simulation 46-21, select “A3” paper, and verify that all values are set to
500.
500.
(After completion of TC 46-24, this is done automatically).
Press “EXECUTE”.
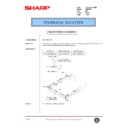
A colour patch image will be printed. Examine the printout, and determine the
following:
following:
1) Patch “A” of Y, C, M, and K is not visible.
2) Patches “B through E” are very faint. (“B” & “C” not visible is acceptable).
3) The patch density for each colour should change gradually from high
density (left) to low density (right).
4) Each colour should be roughly equal in density. For example, Cyan should
not be noticeably darker than Magenta, or vice- versa.
Note: If the four colour “gamuts” are too intense between “G” and “A”,
background may result. A noticeable “drop-off” in intensity should occur near
“G”.
background may result. A noticeable “drop-off” in intensity should occur near
“G”.
Cont’d
GMA050702
Sharp Electronics (UK) Ltd., Technical Services Group
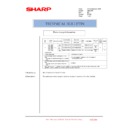
If any of the above conditions are not met, adjust the density of each colour’s gamut
by using the up and down arrows. This changes all 15 squares simultaneously.
(each colour’ “gamut” is represented by 15 squares. - Letters “A” through “O”.)
The next objective is to adjust the individual patch to get the composite black
strip (CMY mixed) to match the process black strip (Bk) as closely as possible.
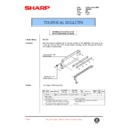
1)
With the first process black strip facing you, label the process black strip from
left to right, MAX, O, N, M, L, K, J, I, H, G, F, E, D, C, B, and A. (16 squares) This
will be your reference sheet.
2)
will be your reference sheet.
2)
In order to manipulate the composite black strip so it resembles the process
black strip as closely as possible, highlight the colour you wish to adjust (C, M, Y, or
K). Choose the square you wish to adjust, (letter A through O) ,use the ten keys to
increase or decrease the value, and press “OK”.
K). Choose the square you wish to adjust, (letter A through O) ,use the ten keys to
increase or decrease the value, and press “OK”.
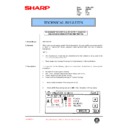
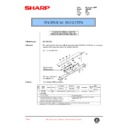
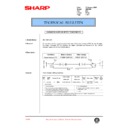
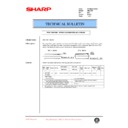
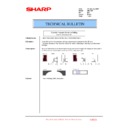
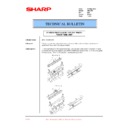
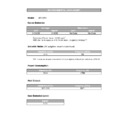
Select Colour
to be adjusted
Either Select 1 point to adjust
1 point at a time or use the up
and down arrows to adjust all
15 points simultaneously

