Sharp R-67STM (serv.man8) Service Manual ▷ View online
R67STM
8 – 5
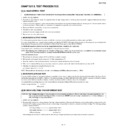
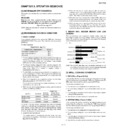
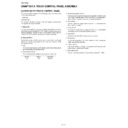
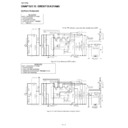
[14] N: RELAY TEST
CARRY OUT 3D CHECKS.
Remove the outer case and check voltage between Pin No. 1 and Pin No. 3 of the 3 pin connector (A) on the control unit with an A.C. voltmeter.
The meter should indicate rated voltage, if not check oven circuit.
RY1, RY2, RY3, RY4 and RY5 Relay Test
These relays are operated by D.C. voltage
DC. voltage indicated ................................... Defective relay.
DC. voltage not indicated ............................. Check diode which is connected to the relay coil. If diode is good, control unit is defective.
CARRY OUT 4R CHECKS.
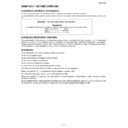
[15] N: PROCEDURES TO BE TAKEN WHEO: THE FOIL PATTERN ON THE PRINTED WIRING
BOARD (PWB) IS OPEN
BOARD (PWB) IS OPEN
CARRY OUT 3D CHECKS.
NOTE: *At the time of these repairs, make a visual inspection of the varistor. Check for burned dam-
age. If any abnormal condition is detected, replace the control unit.
CARRY OUT 4R CHECKS.
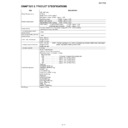
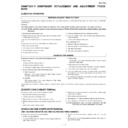
RELAY SYMBOL
OPERATIONAL VOLTAGE
CONNECTED COMPONENTS
RY1
APPROX. 12V D.C.
Oven lamp / Turntable motor
RY2
APPROX. 12V D.C.
Top grill heating element
RY3
APPROX. 12V D.C.
High voltage transformer
RY4
APPROX. 12V D.C.
Fan motor
RY5
APPROX. 12V D.C.
Bottom grill heating element
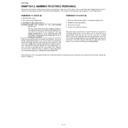
STEPS
OCCURRENCE
CAUSE OR CORRECTION
1
The rated AC voltage is not present between Pin No. 1 of the 3-pin connec-
tor (A).
tor (A).
Check supply voltage and oven power cord.
2
The rated AC voltage is present at primary side of low voltage transformer.
Low voltage transformer or secondary circuit defective.
Check and replace control unit.
Check and replace control unit.
3
Only pattern at “a” is broken.
*Insert jumper wire J1 and solder.
(CARRY OUT 3D CHECKS BEFORE REPAIR)
(CARRY OUT 3D CHECKS BEFORE REPAIR)
4
Pattern at “a” and “b” are broken.
Replace control unit.
(CARRY OUT 3D CHECKS BEFORE REPAIR)
(CARRY OUT 3D CHECKS BEFORE REPAIR)
a
b
Display

