Sharp VC-S2000 (serv.man20) User Manual / Operation Manual ▷ View online
45
If problems persist contact the SHARP Helpline on tel:08705-274277 (office hours)
or www.sharp.co.uk/support
CUSTOMISED INSTALLATION
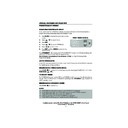
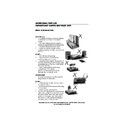
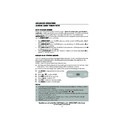
MANUALLY SETTING THE CLOCK
The clock will normally be set using teletext information when your VCR automatically tunes in
the broadcast channels. If for any reason teletext signals are not present your VCR will not be
able to set the clock. This procedure will allow you to set the clock manually.
1.
Press
MENU
. Press [
/
] to select SET UP.
Press
SET
to confirm.
2.
Press [
/
] to select CLOCK. Press
SET
to
confirm.
3.
Press [
/
] to select either 12 or 24 hour
clock.
4.
Press [
/
] to select TIME. Enter the time
using the
NUMBER BUTTONS
or
[
/
]. If the minutes are less than 10, enter
the leading 0. If using the 12 hour clock enter
AM or PM by pressing
on the remote
control.
5.
Press [
/
] to select DATE. Enter the date
using the
NUMBER BUTTONS
or
[
/
]. For example, for 1st April enter
01 04
.
6.
Press [
/
] to select YEAR. Enter the last two
digits of the year using the
NUMBER
BUTTONS
or [
/
]. For example, for
2000 enter
00
. For the year 2001 enter
01
.
7.
Select * for
AUTO CLOCK
on/off
(
*
is
ON
, - is
OFF
). Then press
SET
to confirm.
NOTE:
•
If
AUTO CLOCK
is set to OFF (
-
is OFF) then you will need to update the clock for
daylight saving.
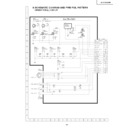
C L OCK
MOD E
T I ME
DA T E
Y E AR
2 4 H
0 : 0 0
1 / 0 4
0 0
*
MOD E : 2 4 H / 1 2 H
: S E L EC T
: CHANGE
S E T
: E N T E R ME NU : E X I T
TINS-3894 ENGLISH.book Page 45 Wednesday, September 6, 2000 11:53 AM

