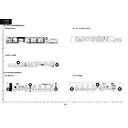
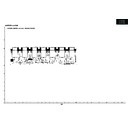
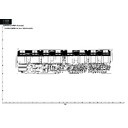
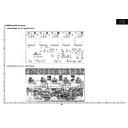
Sharp LC-37P55E (serv.man9) Service Manual ▷ View online
11
LC-26GA5E
LC-32GA5E
LC-26P55E
LC-32P55E
LC-37P55E
REMOVING OF MAJOR PARTS
Removing of Major Parts LC-26P55E
9
LC-26P55E
LC-32P55E
LC-37P55E
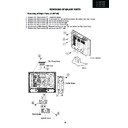
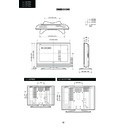
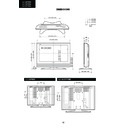
REMOVING OF MAJOR PARTS (LC-26P55E)
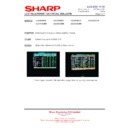
1. Remove the 4 lock screws 1, Detach the Stand.
2. Remove the 4 lock screws 2, 1 lock screw 3 and the 9 lock screws 4, Detach the Rear Cabinet.
3. Remove the 3 lock screws 5 and detach the Bottom Cover.
4. Remove the 6 lock screws 6 and detach the Stand Angle.
5. Remove the 4 lock screws 7 and detach the Center Angle.
6. Disconnect the KM connector. Remove the 2 lock screws 8 and detach the Top Cover Ass’y.
7. Remove the 3 lock screws 9 and detach the KEY Unit.
Stand
Rear Cabinet
1
2
3
4
12
LC-26GA5E
LC-32GA5E
LC-26P55E
LC-32P55E
LC-37P55E
Removing of Major Parts LC-26P55E (continued)
10
LC-26P55E
LC-32P55E
LC-37P55E
12
11
14
13
15
16
17
Speaker L
Speaker R
R/C, LED Unit
Power Unit
Tuner Unit
Tuner Earth Plate
AV Unit
Main Unit
Terminal Angle
14
10
Chassis Tray
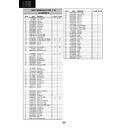
8-1.Remove all the FFC/FPC wires from P201-SC2705,P701-SC1701,P702-SC1702,SC2702-P1101,SC2703-
P1102,SC2704-P1201 and P703-SC301.
8-2.Remove all the connecting cables from PWBs.
9. Remove the 4 lock screws 0 and detach the Power Unit.
10.Remove the 2 lock screws q and detach the Tuner Unit and Tuner Earth Plate.
11.Remove the 2 lock screws w and detach the Main Unit.
12.Remove the 4 lock screws e and detach the AV Unit.
13.Remove the 5 lock screws r detach the Terminal Angle and the Chassis Tray.
14.Remove the 2 lock screws t and detach the R/C, LED Unit.
15.Remove the 4 lock screws y and detach the Sperker R.
16.Remove the 4 lock screws u and detach the Sperker L.
13
LC-26GA5E
LC-32GA5E
LC-26P55E
LC-32P55E
LC-37P55E
Removing of Major Parts LC-26P55E (continued)
11
LC-26P55E
LC-32P55E
LC-37P55E
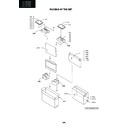
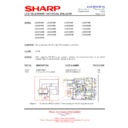
17.Remove the 8 lock screws i and the 4 lock screws o, detach the LCD Angles.
18.Remove the LCD Panel Unit from Front Cabinet.
18
18
18
18
19
19
19
19
LCD Angle
LCD Angle
LCD Angle
LCD Angle
Front Cabinet
LCD Panel Unit
14
LC-26GA5E
LC-32GA5E
LC-26P55E
LC-32P55E
LC-37P55E
Removing of Major Parts LC-32/37P55E
12
LC-26P55E
LC-32P55E
LC-37P55E
REMOVING OF MAJOR PARTS (LC-32/37P55E)
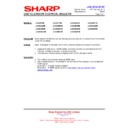
1. Remove the 4 lock screws 1, Detach the Stand.
2. Remove the 5 lock screws 2, 1 lock screw 3 and the 9 lock screws 4, Detach the Rear Cabinet.
3. Remove the 3 lock screws 5 and detach the Bottom Cover.
4. Remove the 4 lock screws 6 and detach the Stand Angle.
5. Remove the 6 lock screws 7 and detach the Center Angle L and the Center Angle R.
6. Disconnect the KM connector. Remove the 2 lock screws 8 and detach the Top Cover Ass’y.
7. Remove the 3 lock screws 9 and detach the KEY Unit.
Stand
Rear Cabinet
2
3
4
1
Display

