Sharp MX-6500N / MX-7500N (serv.man22) Service Manual ▷ View online
MX-7500N FIRMWARE UPDATE 8 – 5
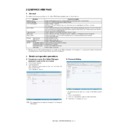
a-2. Procedures
1)
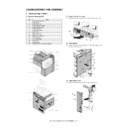
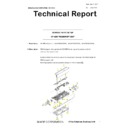
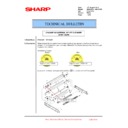
Turn OFF the power, and remove the cabinet and the MFP
PWB cover.
PWB cover.
2)
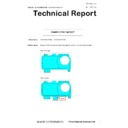
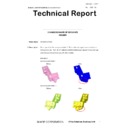
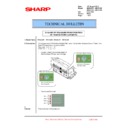
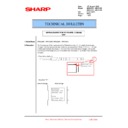
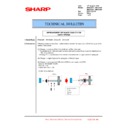
Turn ON the DIP SW of the MFP PWB UP DATE.
3)
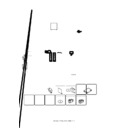
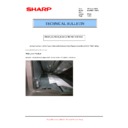
Install the USB memory into the USB port.
USB memory installing position
4)
Turn ON the power.
5)
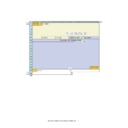
Check to confirm that the machine starts booting. (It takes
more than ten seconds to display the menu.)
more than ten seconds to display the menu.)
Display when booting is completed
6)
Select the firmware update mode.
Select the update mode with [MENU] key and [BACK] key.
Display of the firmware update mode
7)
Press [OK] key.
The firmware file saved in the USB memory is retrieved, and
the file selection menu is displayed.
the file selection menu is displayed.
Display of file selection
8)
Select the firmware file (SFU).
Select the target firmware file (SFU) with [UP] key and
[DOWN] key.
[DOWN] key.
When [OK] key is pressed with a directory name (the head: ">
D") displayed, the menu goes to the one-stage lower directory.
D") displayed, the menu goes to the one-stage lower directory.
When [BACK] key is pressed in the lower-stage directory, the
menu returns to the original upper directory.
menu returns to the original upper directory.
9)
Press [OK] key.
The selected firmware file (SFU) is read. It takes about one
minute.
minute.
Display of file reading
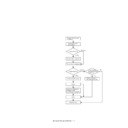
10) After completion of reading, the firmware update process is
continued.
Display of the firmware update process
* The abbreviated name of the firmware which is under
update process is indicated on the right upper corner of the
display.
display.
* During the update process, the display may flash instanta-
neously. It is a normal operation.
11) Check the update result.
Use [UP] key and [DOWN] key to display the results of all the
firmware programs.
firmware programs.
Display of the firmware update result
- OK: Update is completed successfully.
- NG: Update is failed.
- Not Update: Update is not executed.
12) Turn OFF the power.
13) Turn OFF the DIP SW of the MFP PWB UP DATE. (Set the
DIP-SW to the normal mode.)
14) Turn ON the power, and check to confirm that the machine
boots up normally.
Check to confirm that the boot animation is displayed.
Check to confirm that "Copying is enabled" is displayed on the
copier basic menu.
copier basic menu.
15) Check to confirm the version of each firmware with SIM22-5.
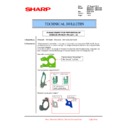
16) Attach the MFP PWB cover and the cabinet.
Update Program Init
Please wait
Please wait
Version Check
Conf : 00050000
Conf : 00050000
Firm Update
From USB Memory
From USB Memory
Firm Update
> F 0100P000.sfu
> F 0100P000.sfu
Firm Update
Reading Data
Reading Data
Firm Update IcuM
Writing Data
Writing Data
Firm Update IcuM
Result : OK
Result : OK
Firm Update IcuM
Result : Not Update
Result : Not Update
Firm Update IcuM
Result : NG
Result : NG
Display


