Sharp MX-4100N / MX-4101N / MX-5000N / MX-5001N (serv.man25) Service Manual ▷ View online
MX-4101N PAPER FEED SECTION F – 4
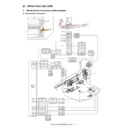
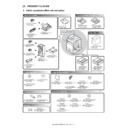
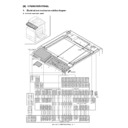
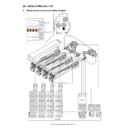
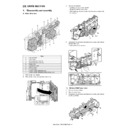
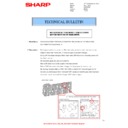
2. Operational descriptions
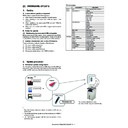
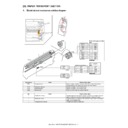
A. Hand feed
The pickup roller moves up and down to press the paper surface,
separating the paper on the top of the paper bundle and sending it
to the paper feed roller section.
The paper feed roller feeds paper to the transport section to pre-
vent against double feed with the separation roller. The manual
paper feed clutch controls ON/OFF of the pickup roller and the
paper feed roller. Paper is sent to the resist roller by the manual
transport roller.
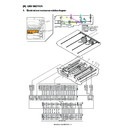
B. Tray paper feed
(1) Paper feed front operation
• Set paper and insert the paper feed tray, and the pickup roller
falls to turn ON the paper feed tray sensor.
• The lift-up motor drives the rotating plate to move it up.
• The paper upper limit sensor turns ON, and the rotation plate
• The paper upper limit sensor turns ON, and the rotation plate
stops at the specified position.
(2) Paper feed operation
• When copy/print operation is started, the motor and the clutch
are turned ON to rotate the pickup roller in the paper pickup tim-
ing, feeding paper.
ing, feeding paper.
• At the same time, the paper feed roller rotates to transport paper
to the transport section. At that time, the separation roller rotates
to prevent against double feed of paper.
to prevent against double feed of paper.
(3) Paper remaining detection
• The notifying levels of paper remaining quantity are 4 steps in
total; 3 steps of paper remaining quantity and 1 step of paper
empty. The result is displayed.
empty. The result is displayed.
(4) Paper remaining quantity detection method
• The paper remaining quantity is judged from the number of rota-
tions of the remaining quantity sensor from starting the lift-up
operation of the paper feed tray to turning ON the upper limit
sensor.
operation of the paper feed tray to turning ON the upper limit
sensor.
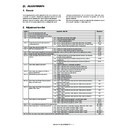
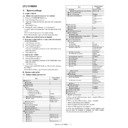
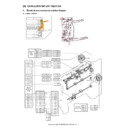
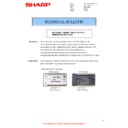
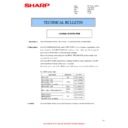
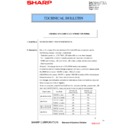
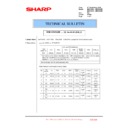
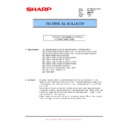
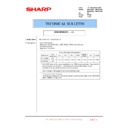
Signal name
Name
Function/Operation
CLUD1
Tray 1 upper limit detection (Lift HP detection)
Tray 1 upper limit detection
CLUD2
Tray 2 upper limit detection (Lift HP detection)
Tray 2 upper limit detection
CLUM1
Paper feed tray lift-up motor (Paper feed tray 1)
Drives the lift plate of the paper feed tray.
CLUM2
Paper feed tray lift-up motor (Paper feed tray 2)
Drives the lift plate of the paper feed tray.
CPED 1
Tray 1 paper empty detection
Tray 1 paper empty detection
CPED 2
Tray 2 paper empty detection
Tray 2 paper empty detection
CPFC
Tray vertical transport clutch
Controls ON/OFF of the paper transport roller in the paper feed tray section.
CPFD1
Tray 1 transport detection
(Paper entry detection)
(Paper entry detection)
Detects tray 1 paper pass.
CPFD2
Tray 2 transport detection
(Paper entry detection)
(Paper entry detection)
Detects tray 2 paper pass.
CPFM
Paper feed motor
Drives the paper feed section.
CPUC1
Paper feed clutch (Paper feed tray 1)
Controls ON/OFF of the roller in the paper feed tray section.
CPUC2
Paper feed clutch (Paper feed tray 2)
Controls ON/OFF of the roller in the paper feed tray section.
CSPD1
Tray 1 paper remaining quantity detection
Tray 1 paper remaining quantity detection
CSPD2
Tray 2 paper remaining quantity detection
Tray 2 paper remaining quantity detection
CSS1
Tray 1 installation detection
Tray 1 installation defection
CSS2
Tray 2 installation detection
Tray 2 installation defection
DSW_C
Tray 1, 2 transport cover open/close detection
Tray 1, 2 transport cover open/close detection
HPFM
Horizontal transport motor
Transports paper from the paper feed section to the transport motor drive system.
Transports paper from the right door section to the transport motor drive system.
Transports paper from the right door section to the transport motor drive system.
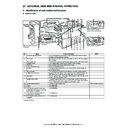
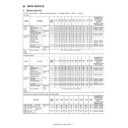
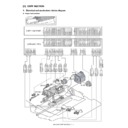
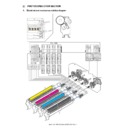
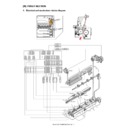
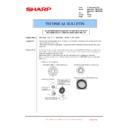
No.
Name
Function/Operation
1
Paper feed roller (No. 1 paper feed tray)
Feeds paper to the paper transport section.
2
Paper pickup roller (No. 1 paper feed tray)
Sends paper to the paper transport section.
3
Separation roller (No. 1 paper feed tray)
Separates paper to prevent Double Feed.
4
Torque limiter
Always provides a certain level of resistance to the rotation of the separation roller,
preventing against double feed.
preventing against double feed.
5
Paper feed roller (No. 2 paper feed tray)
Feeds paper to the paper transport section.
6
Paper pickup roller (No. 2 paper feed tray)
Sends paper to the paper transport section.
7
Separation roller (No. 2 paper feed tray)
Separates paper to prevent Double Feed.
8
Transport roller 4 (Drive)
Transports paper from the transport roller 1 and the paper feed roller (No. 2 paper
feed tray) to the transport roller 7.
feed tray) to the transport roller 7.
9
Transport roller 5 (drive)
Transports paper from the paper feed tray 1 to the transport roller 7.
10
Transport roller 7 (drive)
Transport paper from the paper feed tray 1, 2 and 3, 4 to the transport roller 8.
11
Rotating plate
Lifts up the paper, and always keeps constant the paper feed position.
12
Transport roller 14 (drive)
Transports paper from the paper feed tray 2 to the transport roller 4.
MX-4101N PAPER FEED SECTION F – 5
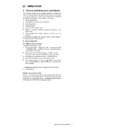
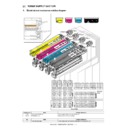
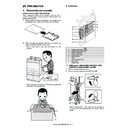
3. Disassembly and assembly
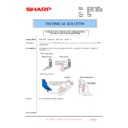
A. Manual paper feed unit
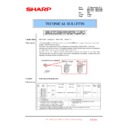
1)
Open the right door.
2)
Remove the screw, and remove the connector cover. Remove
the screw and remove the ADU inner cover.
the screw and remove the ADU inner cover.
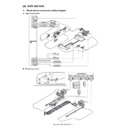
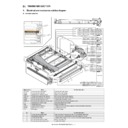
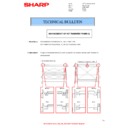
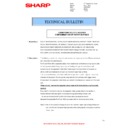
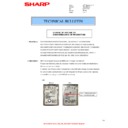
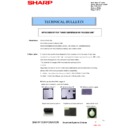
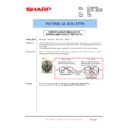
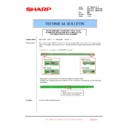
The no-paper detection sensor detects
the state of no remaining paper.
the state of no remaining paper.
During no-paper detection
1/3 Field
Sensor logic: Low
Sensor logic: Low
Remaining paper 1/3 position
Remaining paper 2/3 position
Remaining paper 3/3 position
2/3 Field
Sensor logic: Hi
Sensor logic: Hi
3/3 Field
Sensor logic: Low
Sensor logic: Low
CPED
(paper sensor)
(paper sensor)
Remaining Paper
Detection Actuator
Detection Actuator
Turn plate
CSPD
(remaining paper detection)
(remaining paper detection)
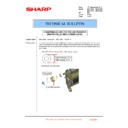
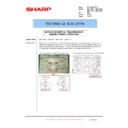
(Figure showing state transition of the remaining paper detection sensor during tray elevation and
changes in status according to the number of remaining sheets)
changes in status according to the number of remaining sheets)
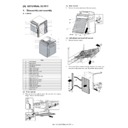
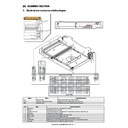
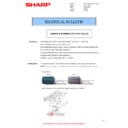
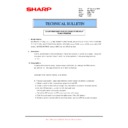
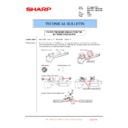
Parts
a
Temperature humidity sensor
b
Manual paper feed tray paper width detector
c
Manual paper feed gate solenoid
d
Paper pickup solenoid
b
d
a
c
MX-4101N PAPER FEED SECTION F – 6
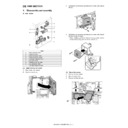
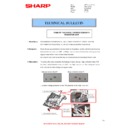
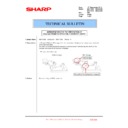
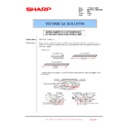
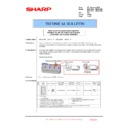
3)
Remove the ADU cabinet F and the ADU cabinet R.
4)
Remove the MF harness cover, and disconnect the connector.
5)
Remove the MF tray installing shaft, and remove the manual
feed tray unit.
feed tray unit.
6)
Disconnect the connector, and remove the manual paper feed
unit.
unit.
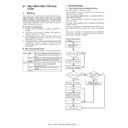
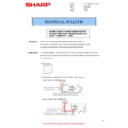
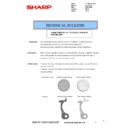
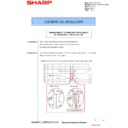
(1) Temperature and humidity sensor/Manual paper
feed tray paper width detector
1)
Remove the manual paper feed tray unit.
2)
Remove the MF tray upper inside cover.
3)
Disengage the pawl, lift the MF tray upper and MF tray 2, and
disconnect the connector.
disconnect the connector.
4)
Remove the temperature and humidity sensor.
5)
Remove the manual paper feed tray paper width detector.
1
2
1
3
2
MX-4101N PAPER FEED SECTION F – 7
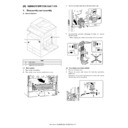
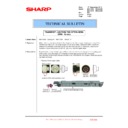
(2) Manual paper feed gate solenoid
1)
Remove the manual paper feed unit.
2)
Remove the MF base guide supporting plate and the spring.
3)
Disconnect the connector, and disengage the pawl, and
remove the manual paper feed gate solenoid.
remove the manual paper feed gate solenoid.
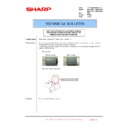
(3) Paper pickup solenoid
1)
Remove the manual paper feed unit.
2)
Remove the MF base guide supporting plate and the spring.
3)
Remove each part, and remove the transport roller 12 (drive).
4)
Remove each part, and remove the MF drive plate.
5)
Disconnect the connector, and remove the MF front plate.
6)
Remove the MF upper base paper guide unit.
7)
Remove the MF upper guide supporting plate.
1
1
2
1
2
2
1
2
1

