Sharp AR-DU1 (serv.man11) Service Manual / Technical Bulletin ▷ View online
GA08052001-1
Sharp Electronics (UK) Ltd., Technical Services Group
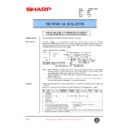
AR-DU1 Procedure for Repairing Damaged Frame
1. Remove AR-Du1 (ADU) from the machine.
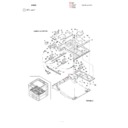
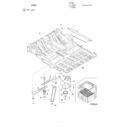
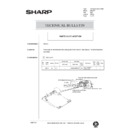
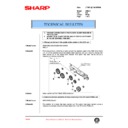
[If Section A in the picture below is damaged]
2. Unfasten E Type Ring (P/G No. 2-1)/Ball Bearing (P/G No. 2-3) shown in the picture above.
3. Remove Screw at Section B in the picture above, and remove Roller support plate (P/G No. 2-3)
4. If Section A in the picture above comes off completely, go on to Step (5).
3. Remove Screw at Section B in the picture above, and remove Roller support plate (P/G No. 2-3)
4. If Section A in the picture above comes off completely, go on to Step (5).
If it does not come off but is cracked, ADU frame must be cut using a nipper or the like as shown below.
GA08052001-1
Sharp Electronics (UK) Ltd., Technical Services Group
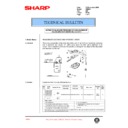
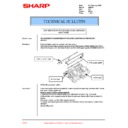
5. In place of Roller support plate, secure Repair part with the screw that had been fastened originally.
At this point, for Section C, use the screw that had been originally fastened to secure Earth plate. Fasten Earth
plate and Repair part together.
plate and Repair part together.
6. Tighten E type ring (PG No. 2-1) / Ball Bearing (P/G No. 2-3) that have been removed in Step 2 above.
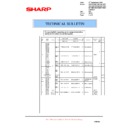
CPLTM5705FC01
GA08052001-1
Sharp Electronics (UK) Ltd., Technical Services Group
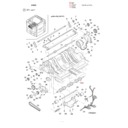
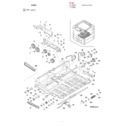
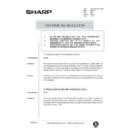
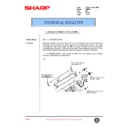
[If Section D in the picture below is damaged]
Please note that Repair part can be used when Section D in the picture below is cracked only. If Section D
comes off completely, Repair part must not be used.
comes off completely, Repair part must not be used.
7. Remove Screw at Section E in the picture above.
8. Fasten Repair part by the screw that has been removed from Section E in the picture above.
LPLTM5704FCZZ
GA08052001-1
Sharp Electronics (UK) Ltd., Technical Services Group
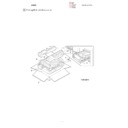
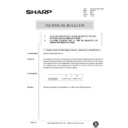
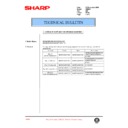
[If Section F in the picture below is damaged]
Please note that Repair part can be used only if Section F in the picture below completely comes off. If Section
F is cracked Repair part must not be used.
F is cracked Repair part must not be used.
9. Remove Screw at Section G in the picture above. Remove also E-type ring and Gear (46T) in the picture above.
10. Remove E-type ring shown in the picture below.
10. Remove E-type ring shown in the picture below.
Display

