Sharp PN-L802B (serv.man28) Service Manual / Technical Bulletin ▷ View online
IDP 2012 12 01
Date of Issue: 17
th
December 2012
Classification:
White
LCD MONITOR DISPLAY TECHNICAL BULLETIN
Page 1 of 5
Sharp Electronics (UK) Limited
Reference
– RG 30112012
Revision - 1
White
– Carry out as required
Yellow
– Carry out as required and whenever the unit comes in for service
Red
– Carry out on all units
MODELS
PN-L601B
PN-L602B
PN-L702B
PN-L802B
SYMPTOM Cannot use the touch panel on an extended desktop.
CAUSE
Setup and configuration.
ACTION
The following setup and configuration only works on a PC using Windows 7.
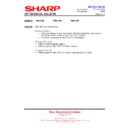
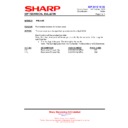
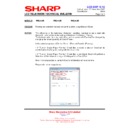
The following diagram is a typical example of the connection you are using.
This configuration had been tested with HDMI and DVI inputs and outputs.
Example of Connection
SETUP
When using PN-LxxxB as the secondary monitor on Windows7, you need to ensure the following is
set:
(1) O
When using PN-LxxxB as the secondary monitor on Windows7, you need to ensure the following is
set:
(1) O
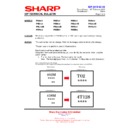
n the remote, press the “SIZE” button and ensure the OSD screen size is set to “Wide”.
(If the screen size is set to something other than “Wide”, the touch position may be displaced.)
(2) Within the Sharp Touch Panel Setting Utility, ensure the touch mode is
set to “Dual”.
(If the touch mode is set to “Single”, the mouse cursor will only be displayed on the primary
monitor.)
monitor.)
If you do not make the above settings the touch panel will not work on an extended desktop.
Note
– The Sharp Pen software is designed to work only on the primary monitor. You cannot use
this application on the secondary monitor.
D-Sub
Connection
USB
Cable
IDP 2012 12 01
Date of Issue: 17
th
December 2012
Classification:
White
LCD MONITOR DISPLAY TECHNICAL BULLETIN
Page 2 of 5
Sharp Electronics (UK) Limited
Reference
– RG 30112012
Revision - 1
White
– Carry out as required
Yellow
– Carry out as required and whenever the unit comes in for service
Red
– Carry out on all units
Windows Configuration
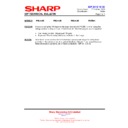
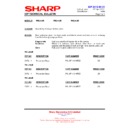
(1) Connect the PC to the PNxxxB using the supplied USB cable.
Connect the PC to the PNxxxB using a video cable (DVI, HDMI, VGA).
Set the primary monitor on the PC (Laptop screen) and set the secondary monitor to
PNxxxB.
Note - After you have set-
Set the primary monitor on the PC (Laptop screen) and set the secondary monitor to
PNxxxB.
Note - After you have set-
up the monitors, a window of “Resolution change notification of
the touch panel utility” may appear. If this windows appears, select “NO”.
IDP 2012 12 01
Date of Issue: 17
th
December 2012
Classification:
White
LCD MONITOR DISPLAY TECHNICAL BULLETIN
Page 3 of 5
Sharp Electronics (UK) Limited
Reference
– RG 30112012
Revision - 1
White
– Carry out as required
Yellow
– Carry out as required and whenever the unit comes in for service
Red
– Carry out on all units
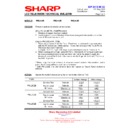
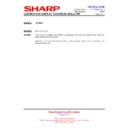
2. Open Control Panel (Start -> Control Panel)
Select Control Panel -> Hardware and Sound.
Select Tablet PC Settings.
IDP 2012 12 01
Date of Issue: 17
th
December 2012
Classification:
White
LCD MONITOR DISPLAY TECHNICAL BULLETIN
Page 4 of 5
Sharp Electronics (UK) Limited
Reference
– RG 30112012
Revision - 1
White
– Carry out as required
Yellow
– Carry out as required and whenever the unit comes in for service
Red
– Carry out on all units
3
“Display” in the Display options of the touch panel is set to your primary monitor on. In the
Tablet PC Settings select Setup... to Configure.
Tablet PC Settings select Setup... to Configure.
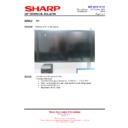
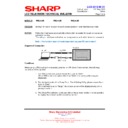
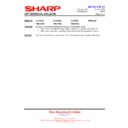
4 The screen below is displayed on the PNxxxB.
When this screen appears on your secondary monitor (PNxxxB), touch the screen of the
PNxxxB.
When this screen appears on your primary monitor press the “Enter” key.
PNxxxB.
When this screen appears on your primary monitor press the “Enter” key.
Display

